Moving Objects on or off Slides Using Builds
To move elements on or off a slide, begin with the completed slide (all elements
visible), and then define a build for each element you want to appear or disappear.
To automatically move an object on or off a slide:
1
On a slide, select the object you want to make move on or off the slide.
Shift-click to select multiple objects.
2
Click Inspector in the toolbar, and then click the Build inspector button.
3
To make the object move onto the slide, click Build In. To make the object leave the
slide, click Build Out.
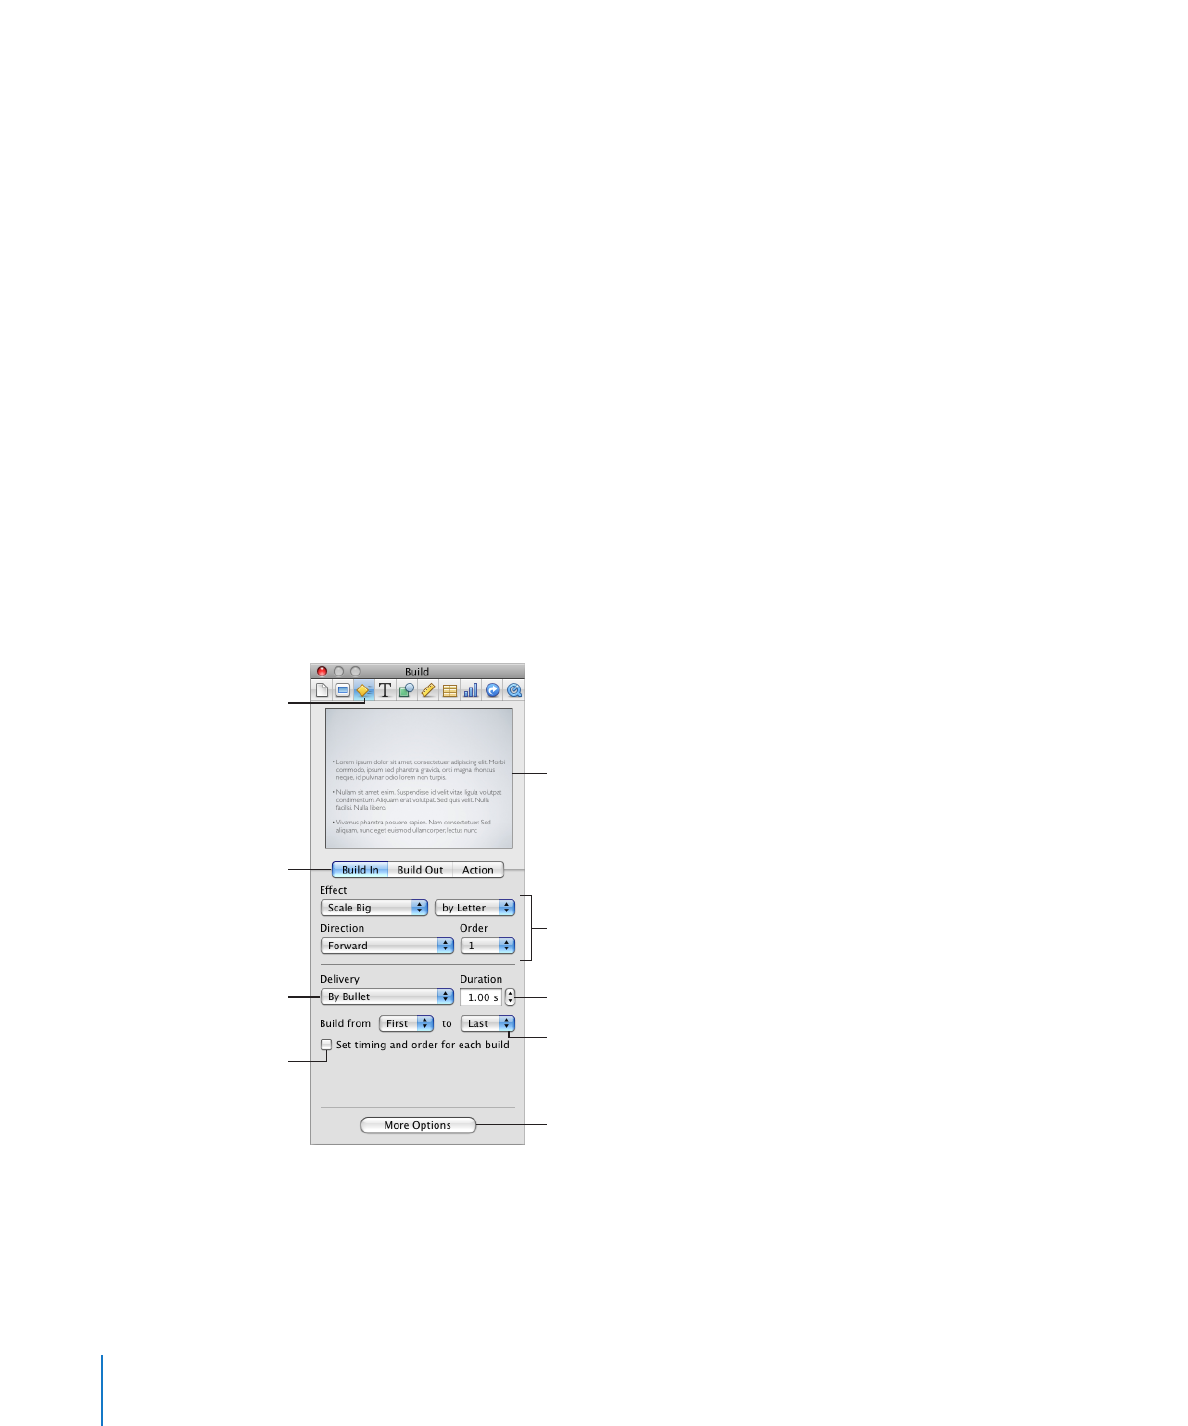
Build objects as a whole
or in parts.
The Build
inspector button
Use Build In animations
to move elements onto
a slide, and Build Out
animations to move
elements off a slide.
Give individual
timings to elements or
interleave elements.
Set how long it takes to complete
the build.
Choose the elements to include.
Open the Build Order drawer to
reorder builds.
Set the animation type, direction,
and build order for each object.
Click to preview the build.
4
Choose an option from the Effect pop-up menu.
If you’re applying the effect using a Smart Build, you’ll see “Use Smart Build” in the
Effect menu. For more information, see “Building a Series of Images on a Single Slide
(Smart Builds)” on page 121.
116
Chapter 7
Using Motion in Slideshows

Chapter 7
Using Motion in Slideshows
117
5
To change the direction in which the object enters or leaves the slide, choose an
option from the Direction pop-up menu. (Not all effects provide this option.)
6
To change whether the object appears on the slide all at once or one part at a time,
choose an option from the Delivery pop-up menu.
The options in the Delivery pop-up menu change depending on the selected object.
For example, options for a table include building by row or by column; options for text
include building by paragraph. For more information, see “About Animating Bulleted
Text, Tables, and Charts” on page 125.
7
To set how long it takes for an object (or object element) to appear or disappear, type
a value in the Duration field (or click the arrows).
To learn how to set separate timings, change the build order, or automate the builds
for individual elements, select “Set timing and order for each build.” In the Build Order
drawer, select each element, see the following topics:
To change the order in which builds occur, see “
Â
Reordering Object Builds” on
page 124.
To specify whether to begin the build automatically (after a specified time) or on
Â
click, see “Automating Object Builds” on page 124.
To intersperse the builds of different object elements (for example, table rows and
Â
pie chart wedges), see “Intermixing Builds of Text, Tables, and Charts” on page 127.
To apply action builds to move or modify the object on the slide, see the topics
Â
below “About Animating Objects on Slides (Action Builds)” on page 117.
8
To prevent some object elements from building, choose options other than First and
Last from the “Build from” pop-up menu.
To view the build, click the image in the Build Inspector or click Play in the toolbar. You
can also view a single element’s build by clicking it in the Build Order drawer.
If you group or ungroup objects that have a build defined, the build effect is removed.
You can create an object build on a master slide so that the build effects appear on
every slide created using that master. See “Defining Default Transitions” on page 239
for instructions.